 Local Photo Restore
Prepare Old Photos for a Family Slideshow on iPhone
For an anniversary, reunion or memorial slideshow, start with the clearest originals, improve only the photos that need it, and save separate copies. Assemble and frame those copies in your chosen slideshow editor, then test the finished video on the screen where it will play. Local Photo Restore prepares still photos; it does not create slideshow videos or repair scratches, tears or missing areas.
1. Select the best originals
Choose the clearest scan or photograph of each print rather than a small screenshot or a repeatedly shared copy. Keep an untouched copy backed up before editing. A short selection of clear pictures may work better than trying to enhance every image in an album.
If a print needs a new capture, use the iPhone print-photography checklist to avoid glare and check focus. For a whole album, follow the family album workflow.
2. Crop and straighten a working copy in Photos
Use a working copy so your untouched capture remains separate. In Photos, open the picture, choose Edit and Crop, then straighten it and remove the table or scanner border. Keep enough room around faces, hands and important objects. Leave the final screen-shaped framing to the slideshow editor rather than forcing every portrait into a wide crop now.
Apple explains the Photos crop and straighten controls.
3. Improve only faded, yellowed or slightly soft photos
Clear pictures may need no enhancement. For a selected faded or slightly soft copy, use Local Photo Restore to improve clarity or resolution, and adjust yellow tint or faded existing color as needed. Make a small change, compare it with the original, and stop when the change is useful. See the yellow tint and faded-color guide.
Scratches, tears and missing areas need a different workflow. Local Photo Restore does not repair them, remove glare or colorize black-and-white photos. Read the options for damaged prints before choosing a tool.
An existing restoration example
This is the site's existing synthetic example, not a slideshow, a customer result or a newly generated output.
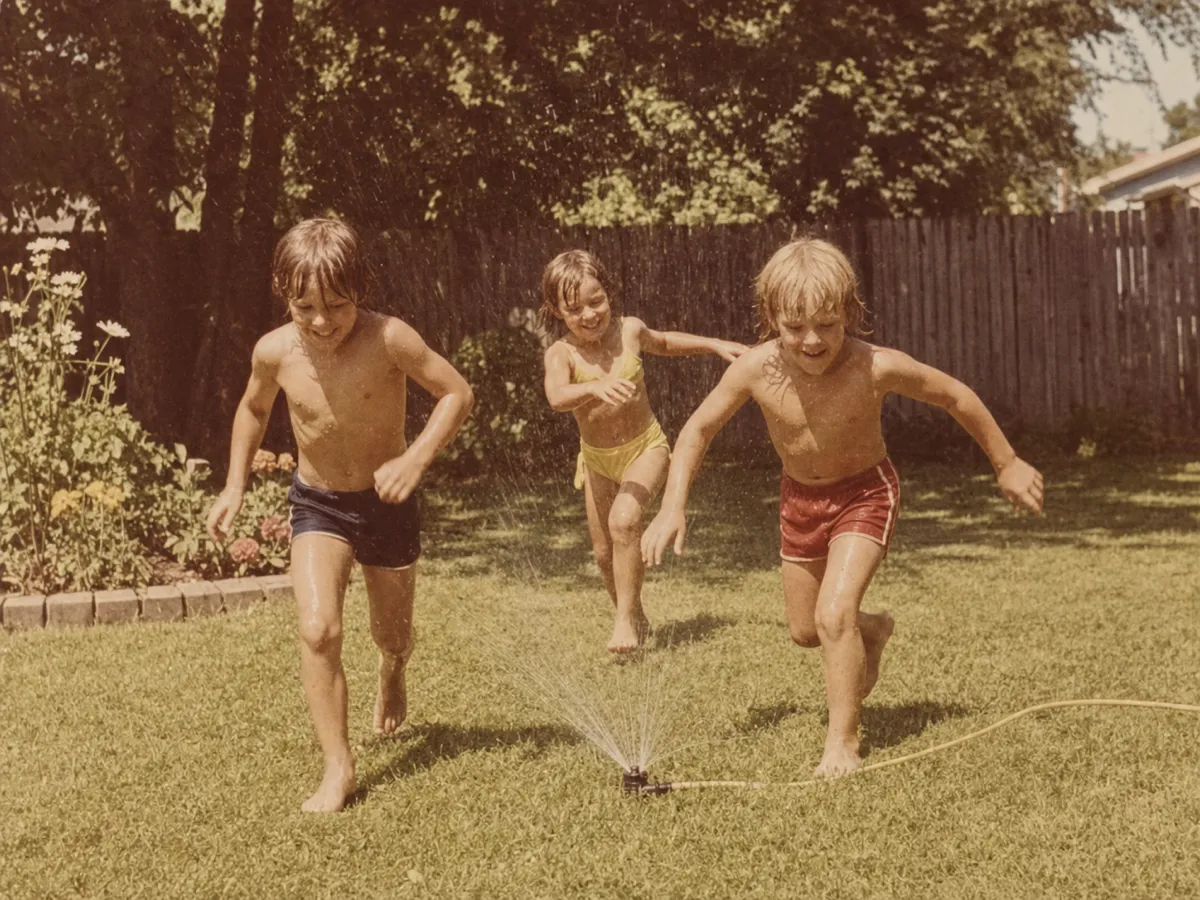
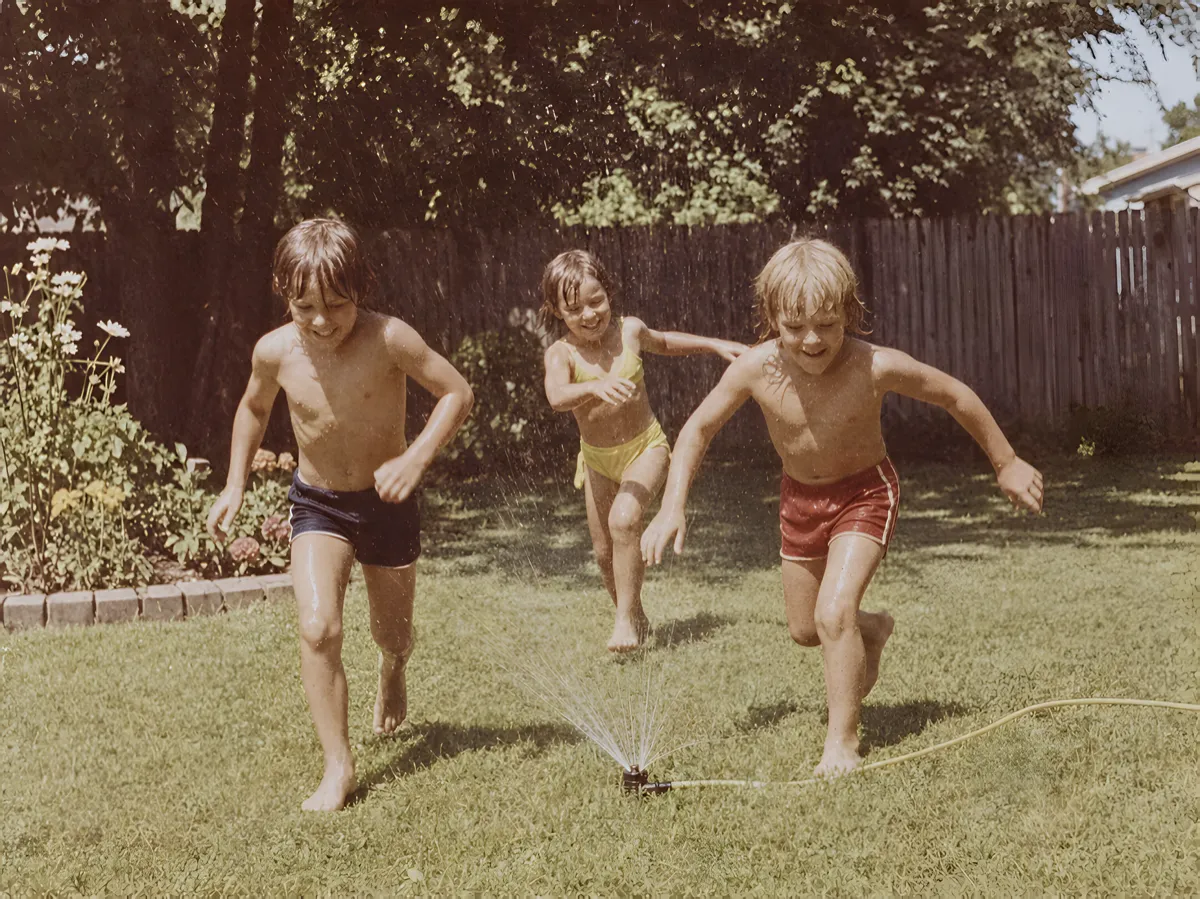
About these examples: the source photos are synthetic test images of fictional people, generated so no real family’s photos are used without consent. They are aged to look like faded prints; none include scratches or tears, because the app doesn’t repair those. Results on your photos depend on the scan or capture you start with.
4. Compare faces and details, then save separate copies
Compare the original and enhanced picture at a similar size, then zoom in on faces, clothing, handwriting and small objects. AI-enhanced detail can be a plausible interpretation rather than something the original captured. If a face looks different or new artifacts appear, reduce the adjustment or use the original. The AI restoration limits guide explains why enhancement is not historical proof.
Save the result as a new copy in Photos; Local Photo Restore leaves the source picture unchanged. Keep untouched captures and slideshow-ready copies in separate albums, and label adjusted copies so they are easy to identify later.
5. Frame the copies in your slideshow editor
Import your chosen copies into the editor you plan to use. Check portrait photos, group portraits and any pan or zoom movement so faces and captions stay visible. A wide screen does not require cropping every photograph to fill it.
In iMovie on iPhone, photos can use the Ken Burns effect. You can adjust its start and end framing or turn the effect off. Follow Apple's iMovie photo-framing guidance. These are editor controls, not Local Photo Restore features.
6. Test the finished slideshow on the destination screen
Export from your slideshow editor and play that finished file on the TV, projector or other screen you will use. Check faces, cropped edges, captions, brightness and playback from the usual viewing distance. Review the whole slideshow; a clear photo on your phone does not guarantee that the exported video will look the same.
If a picture still looks too soft, try a better scan, a less tight crop or the original. Increasing the image size cannot guarantee recovery of detail that was never captured.

Local Photo Restore costs $3.99 once in the U.S. App Store, with no subscription or in-app purchases. iPhone and iPad, iOS or iPadOS 18.2 or later.